An AI agent testnet wallet proves controls before funds
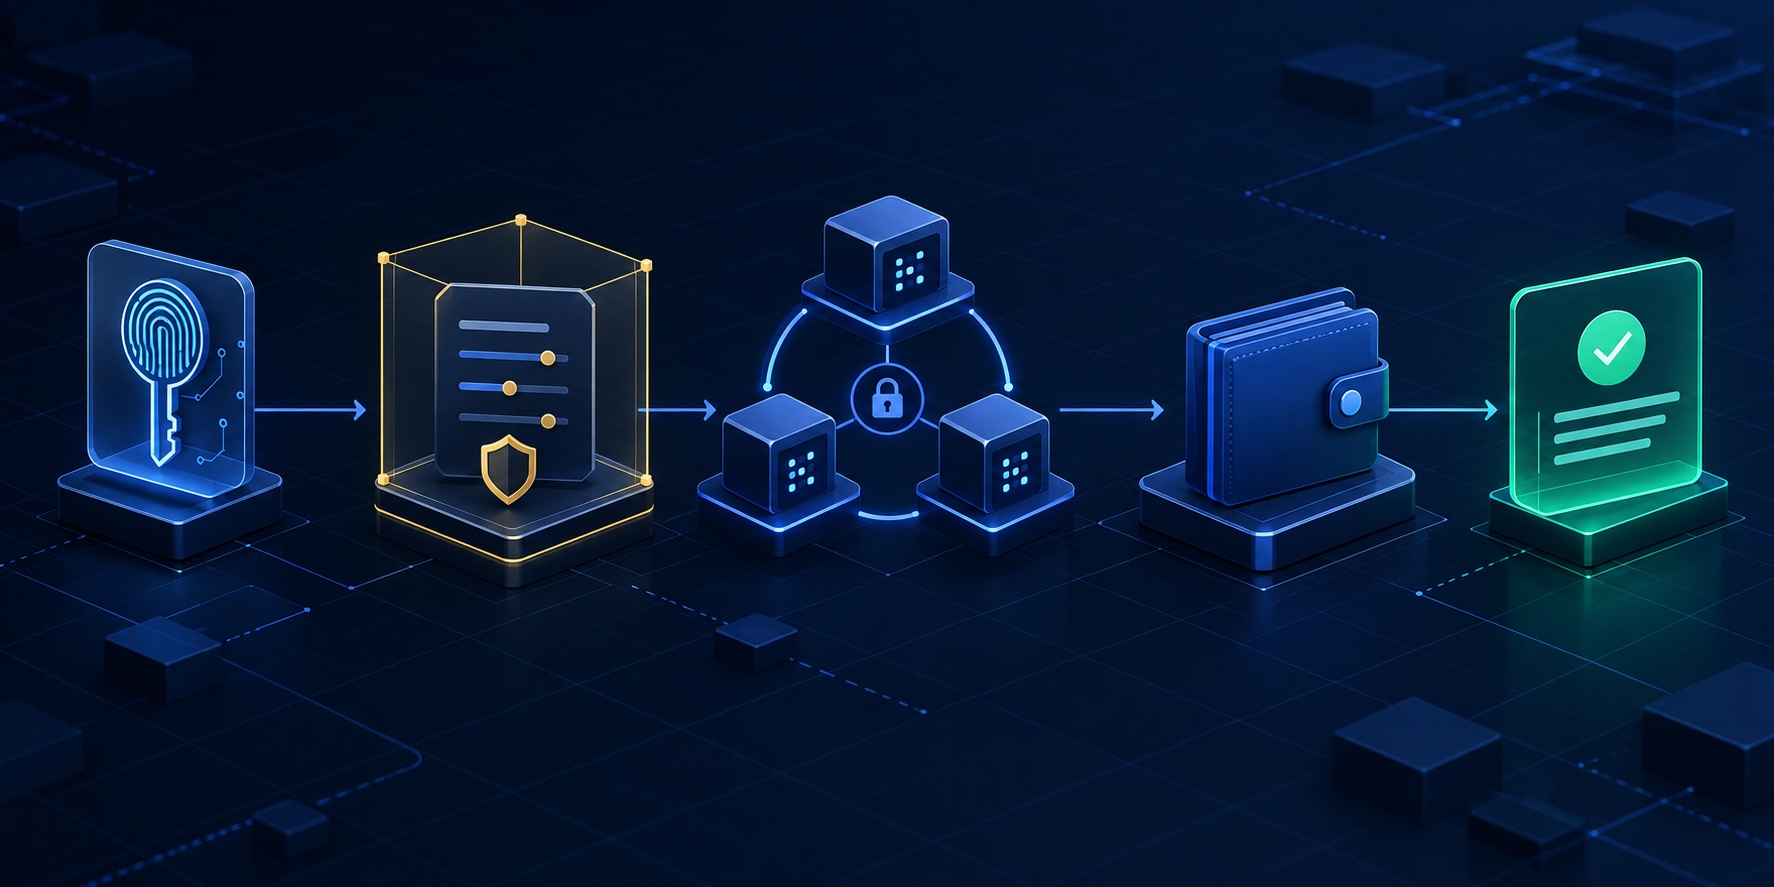
An AI agent testnet wallet should prove more than address creation. It should prove that the agent can work through scoped API access, a customer-controlled Co-Signer, MPC signing readiness, an operating ledger, and observable transaction states without receiving private keys or unrestricted authority.
That makes testnet a control rehearsal, not a disposable demo. The team should be able to create one ledger account and linked wallet, verify the wallet by ID, fund its public address with a supported test asset, observe the deposit, reconcile the balance, and only then test a small outbound transaction. The workflow should use the same ownership boundaries expected in production.
Short answer
To create an AI agent testnet wallet safely, install and inspect the BroSettlement Agent Skills, use separate scoped Ed25519 API keys for the Co-Signer and integration workflow, bring the customer-hosted Co-Signer online, complete MPC/DKG, create one ledger account and one linked wallet on a ready testnet network, then verify a deposit through the operating ledger and bounded event checks. Never place private keys, MPC shares, encryption material, or signed WebSocket URLs in model context.
The readiness map
Wallet creation belongs near the end of onboarding. Each earlier checkpoint proves a different part of the control boundary.
| Checkpoint | Evidence before continuing | Why it matters |
|---|---|---|
| Organization access | The organization is visible in BroSettlement Console | Resources need an explicit owner and plan |
| Co-Signer API identity | Dedicated Ed25519 key with only the three required MPC scopes | The long-running signer should not inherit unrelated wallet permissions |
| Co-Signer runtime | Local health returns 200, ready: true, and Console shows Online | A process existing is not the same as remote connectivity |
| MPC/DKG | MPC key is Active or Ready, Co-Signer is online, selected testnet chain is ready | Wallet creation must not run ahead of signing readiness |
| Integration API identity | Separate key with the account and wallet scopes required by current Swagger | Creation tooling receives least-privilege access |
| Wallet verification | Created wallet is read back by ID and reaches Active | A create response alone does not prove a usable wallet |
| First deposit | Public transaction, balance delta, and ledger entry reconcile | The receive path works beyond address display |
The production BroSettlement API can create a wallet on a testnet blockchain network. API environment and blockchain network are separate decisions. A TRON Nile wallet is still testnet even when the organization uses the production API endpoint.
Step 1: Separate the Co-Signer key from the integration key
Use two Ed25519 identities because they have different jobs.
The dedicated Co-Signer key needs exactly the MPC permissions required by the onboarding guide: Initialize MPC, Read MPC, and Raw MPC co-signer. Its private key stays on the Co-Signer host. The agent may help generate the key pair locally and display the public PEM, but the user must create the API key manually in Console. The agent must not open the API Keys UI, select scopes, submit the form, rotate the key, or copy the Key ID on the user's behalf.
The integration key is separate. For a new guided onboarding that creates the first account and wallet, it needs the current equivalents of accounts:read, accounts:create, wallets:read, and wallets:create. A later routine wallet request for an existing account should request only the scopes required by the current Swagger contract. Do not grant account creation merely because it is convenient.
Follow the BroSettlement Quickstart for the current setup sequence and the Agent Skills guide for the guarded agent workflow.
Step 2: Bring the Co-Signer online before MPC initialization
The customer-hosted Co-Signer is the signing and policy boundary outside model context. Install it on a controlled host, keep its private key, share-encryption key, and encrypted MPC share storage outside Git, and verify both sides of its health:
- The local
/healthendpoint returns HTTP200withready: trueand DKG/signing capabilities enabled. - BroSettlement Console reports the Co-Signer as
Online.
These checks answer different questions. Local health proves the process and storage are ready. Console status proves the service authenticated and contacted BroSettlement. Do not initialize MPC while either side is unresolved.
For production and mainnet operation, follow the supported Linux deployment and recovery-storage runbook. macOS can be used for local onboarding and testnet verification, but it should not be treated as the approved production Co-Signer topology.
Step 3: Complete MPC/DKG and verify chain readiness
MPC initialization creates the organization's distributed signing key. Keep the Co-Signer online until DKG completes. Do not restart it, rotate its API key, replace the share-encryption key, or delete the shares directory during initialization.
Before wallet creation, verify all three conditions:
- the MPC key is
ActiveorReady; - the Co-Signer is
Online; - the intended testnet chain reports ready.
This is also the point to confirm Share B operational custody and a separate Share C recovery copy. A testnet balance has no market value, but the operating habit matters. Do not build a production recovery process after funds arrive.
Step 4: Create one ledger account and one linked wallet
The onboarding request may authorize exactly one tutorial ledger account and one linked testnet wallet. The workflow should still verify each resource instead of treating an accepted request as completion.
- Create the ledger account through the signed API workflow.
- Require the returned account ID and read the resource back by ID.
- Create a wallet linked to that account on a ready testnet network, such as TRON Nile when supported.
- Require the returned wallet ID and read the wallet back by ID.
- Confirm that the wallet reaches
Activeand record its account ID, network, public address, status, and timestamps.
If the wallet remains non-terminal after the bounded verification window, report verification pending rather than claiming success. The resources can be retrieved with:
@brosettlement api GET '/api/v1/ledger/accounts'
@brosettlement api GET '/api/v1/wallets'
@brosettlement api GET '/api/v1/ledger/accounts/<accountId>/wallets'
The wallet creation model is documented in Create a wallet. The model creates intent and coordinates guarded tooling; it does not receive the wallet's private signing material.
Step 5: Fund the public address and verify the receive path
Before requesting test assets, confirm that the asset is returned by the current assets API and that the wallet network matches the faucet. For TRON Nile, use the official TRON testnet-token guide to reach the current Nile faucet or documented community alternatives, and use the Nile explorer to inspect the public transaction.
Enter only the public testnet address in the faucet. A faucet never needs a seed phrase, private key, API private key, or MPC share. Testnet tokens have no financial value, and mainnet assets must never be sent to a testnet address.
Record the balance and ledger state before the transfer. After the faucet broadcasts, verify:
- the public transaction appears in the explorer;
- the deposit is observed and confirmed by the platform;
- the wallet balance changes by the expected asset amount;
- the operating ledger contains the corresponding entry;
- any bounded WebSocket event consumer handles duplicates and reconnects idempotently.
A deposit is an incoming blockchain event. Never call a transaction-creation endpoint to manufacture a deposit. If the balance and ledger entry are not final within the observation window, report deposit verification pending and return retrieval commands instead of waiting indefinitely.
Step 6: Test one controlled withdrawal separately
A first outbound transaction is a separate mutation and needs its own explicit parameters: source wallet, network, asset, amount, destination, and a stable idempotency key. The integration key also needs the transaction scope required by the current Swagger contract.
Before submission, confirm that the destination is correct, the amount is deliberately small, the Co-Signer remains online, and local rules allow the operation. Submit the logical transaction once. A timeout is not permission to create a second request with a new idempotency key.
After an accepted create, read that transaction by ID once. If the status is non-terminal, report withdrawal accepted; verification pending and stop synchronous polling. WebSocket events and later reconciliation can complete the lifecycle without holding an interactive agent session open.
Risks and controls before moving beyond testnet
Testnet completion should produce evidence, not confidence by assertion.
- Secrets: private keys, share-encryption material, MPC shares, signed URLs, passwords, JWTs, and TOTP codes stay outside chat and source control.
- Permissions: Co-Signer and integration keys remain separate and narrowly scoped.
- Idempotency: every mutation keeps one stable operation identity across controlled retries.
- Policy: destinations, assets, amounts, velocity, and manual-review thresholds are explicit.
- Observability: wallet state, events, balances, and ledger records can be reconciled.
- Recovery: Share B and Share C custody are separated and the recovery path is documented.
- Compliance: the organization still owns KYC/KYB, AML, Travel Rule, licensing, monitoring, and reporting decisions.
Do not move to mainnet merely because one faucet transfer worked. Repeat failure cases: duplicate requests, delayed confirmations, unavailable Co-Signer, rejected destination, insufficient balance, event reconnect, and reconciliation mismatch.
How BroSettlement and Agent Skills fit
BroSettlement provides the wallet, operating ledger, Co-Signer, MPC signing, event, and settlement boundary. BroLabel AI Agents describe how an agent can guide wallet operations without becoming an unrestricted signer. Agent Skills connect the two through an inspectable onboarding process and current Swagger-aware API tooling.
The practical next step is to install the skills, activate $brosettlement-onboarding, and complete one testnet account, wallet, deposit, and controlled transaction with evidence at every checkpoint. Bro has your back!
FAQ
Can an AI agent create a testnet wallet?
Yes. An agent can guide setup and invoke guarded tooling to create one authorized ledger account and linked testnet wallet. The user still creates API keys manually in Console, while private keys and MPC shares stay outside model context.
Does testnet require the staging BroSettlement API?
No. The BroSettlement API environment and blockchain network are separate. A production API organization can create a wallet on a supported testnet network such as TRON Nile when that chain is ready.
Which API key should create the wallet?
Use a separate integration API key with the least account and wallet scopes required by current Swagger. Do not reuse the long-running Co-Signer key, which should remain limited to its three MPC permissions.
How do I know the first deposit succeeded?
Reconcile the public blockchain transaction, platform deposit state, wallet balance, and ledger entry. WebSocket events can improve visibility, but consumers must tolerate duplicates and reconnects.
When is the setup ready for mainnet?
Not after one successful transfer. The team should also prove secret handling, permission boundaries, Co-Signer failure behavior, policy rejection, idempotent retries, event recovery, ledger reconciliation, backup custody, and jurisdiction-specific compliance ownership.